Our trip: Day 1 → Day 2 → Day 3 → Day 4-7 → Day 8 → Day 9-10
The first night was… “ok”. As “ok” as a night could be, starting early in the morning, at 25 °C (77 °F) room temperature, and after having had this many new impressions. But, never mind, because: The excitement regarding the upcoming hike of Mount Kilimanjaro and a cup of coffee showed remarkable results against fatigue and tiredness.
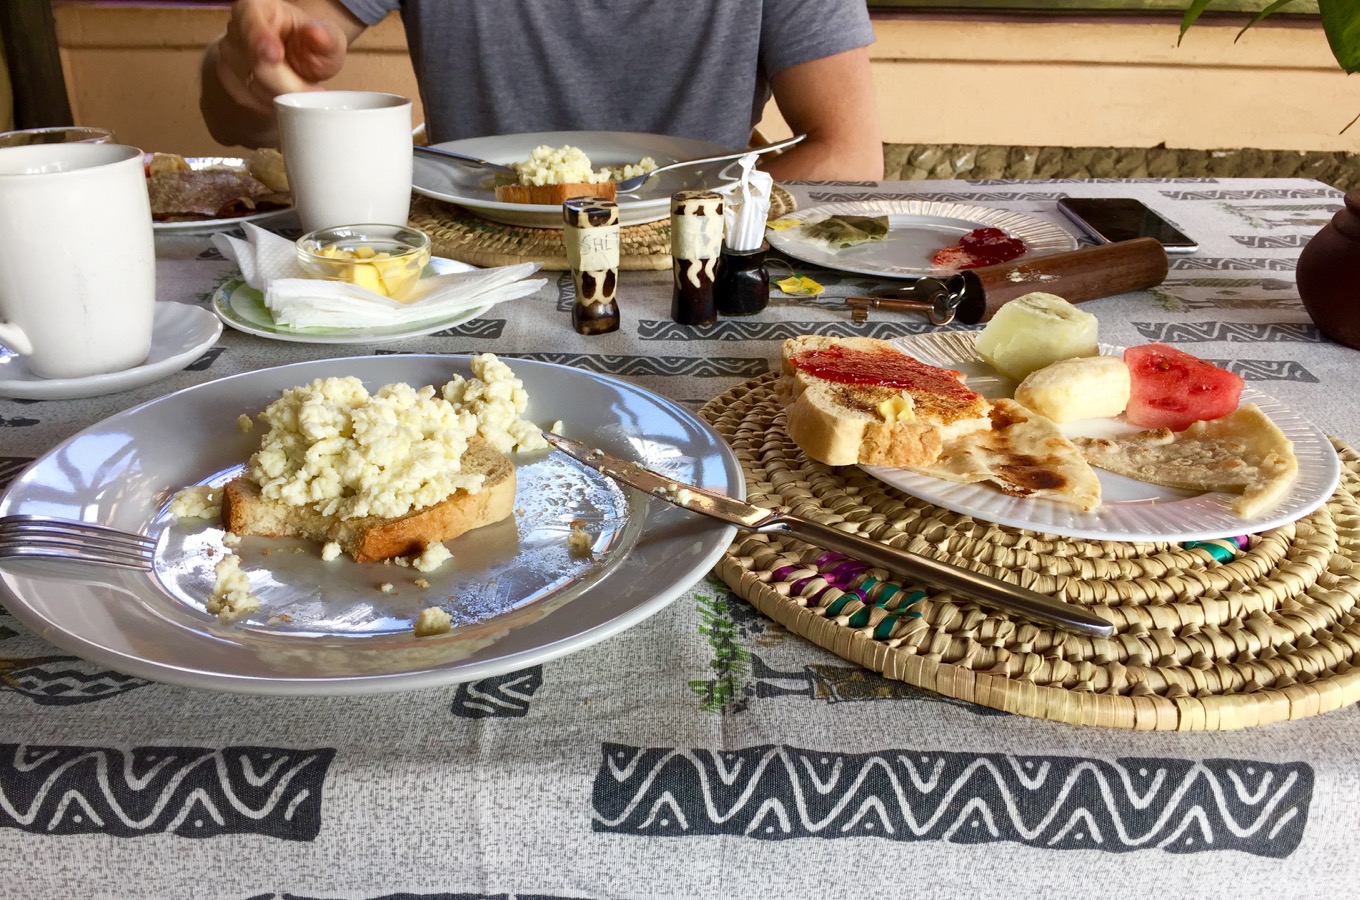
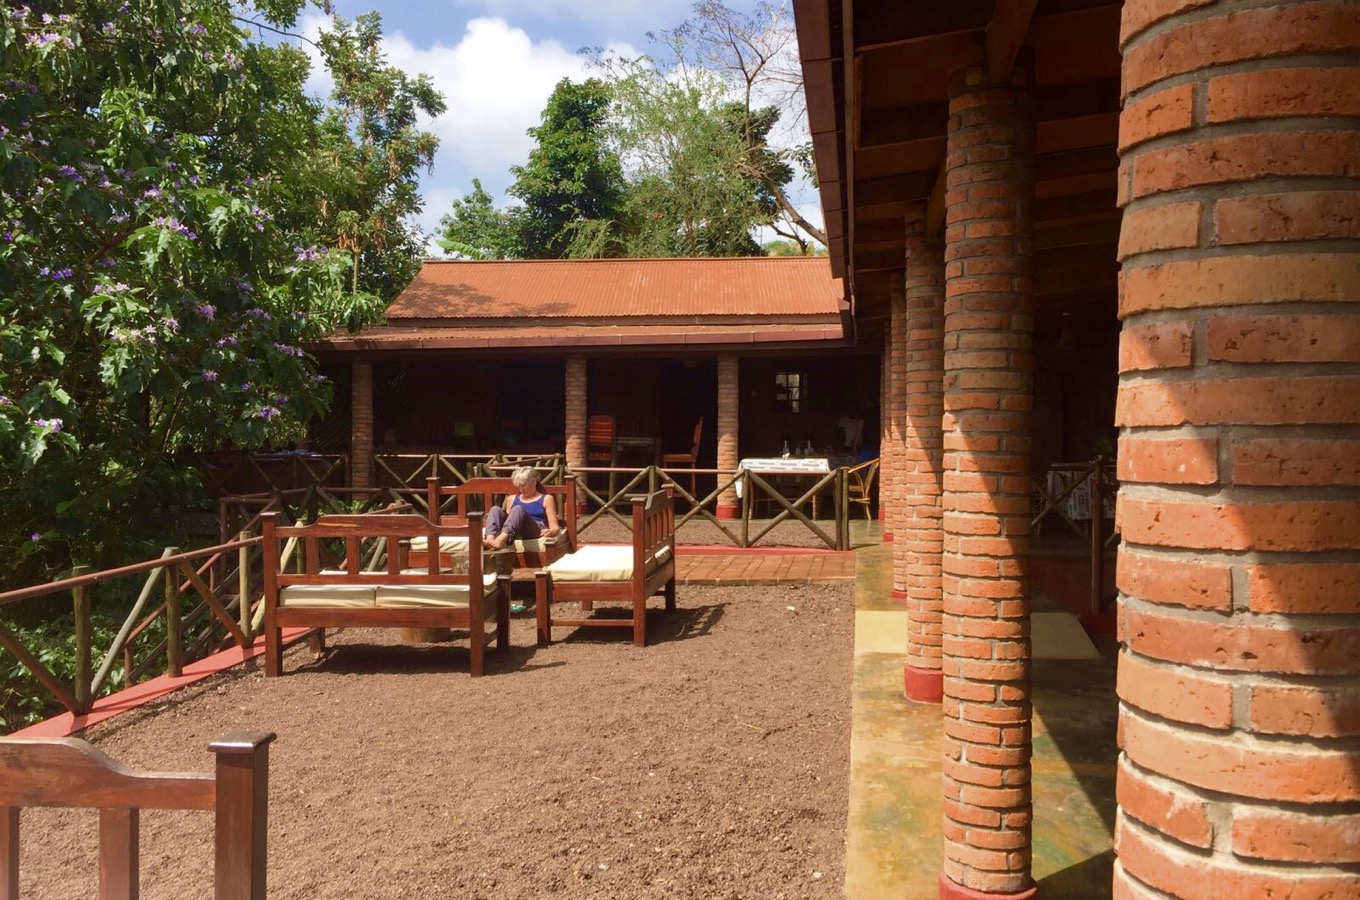
Erasto arrived at Ambureni Coffee Lodge around 10 in the morning. After a briefing regarding the program for the day we went through our equipment. From the first moment on, Erasto took his role as a guide very seriously, which Timo and I appreciated a lot. He was always responsive, and showed sincere interest in creating a unique experience for us. All that, without even having seen Timo and me before. We had not even paid for the tour yet.
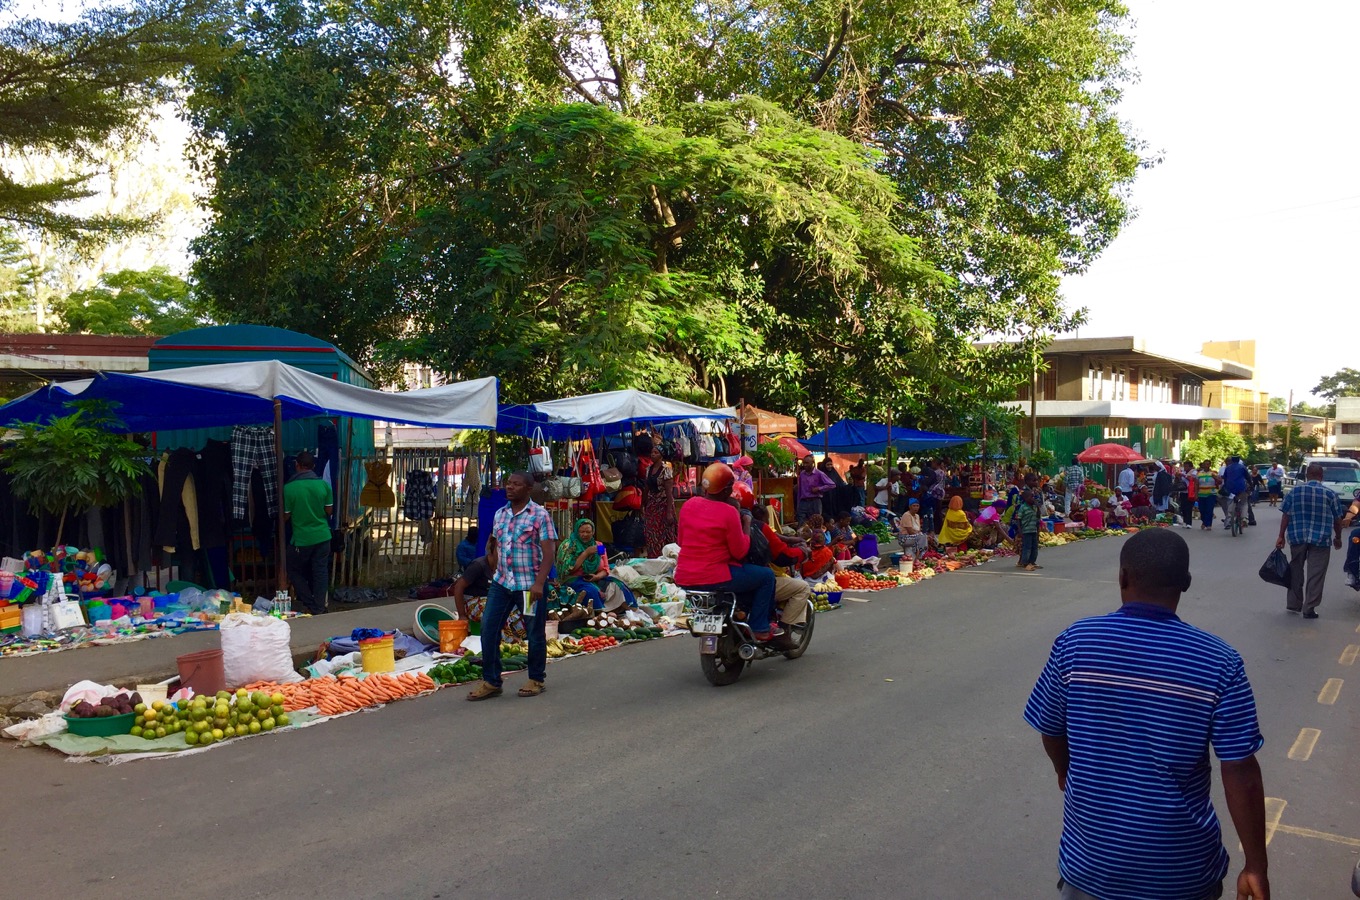
The discovery of Arusha
The car drive to the center of Arusha took us around 30 minutes, even though the distance was not overly large. The time it took to arrive simply extended due to road conditions, occasionally interesting traffic routing and the fact that people were driving at walking pace continuously (at least it felt like that). Once we arrived in Arusha, Timo and I noticed: The city is busy, colorful, little touristic and a bit unorganized; authentic I would say (I know, I am from Germany and thus maybe a little bit biased). Moreover, Arusha is a relatively safe city and Tanzania a relatively safe holiday destination for tourists.
Our first stop brought us to Barclays Bank, where our first little challenge was waiting for us.
„May I have your passport, please?“
Well… yes, of course… if it wasn’t for the fact that it was back in our room at the lodge. Accordingly, passport was the keyword, and the challenge to get money without it. But why would it even be a problem not carrying our passports with us? It’s, because you can only withdraw US dollars at the bank counter in Tanzania if you provide a (valid!) passport. As we had agreed with Erasto for a price in USD, we consequently wanted to withdraw USD at the counter. ATMs generally only provide Tanzania Shillings. What now? Hakuna Matata! No problem, it’s alright. We simply convert USD into Tanzania Shillings and withdraw these at the ATM.
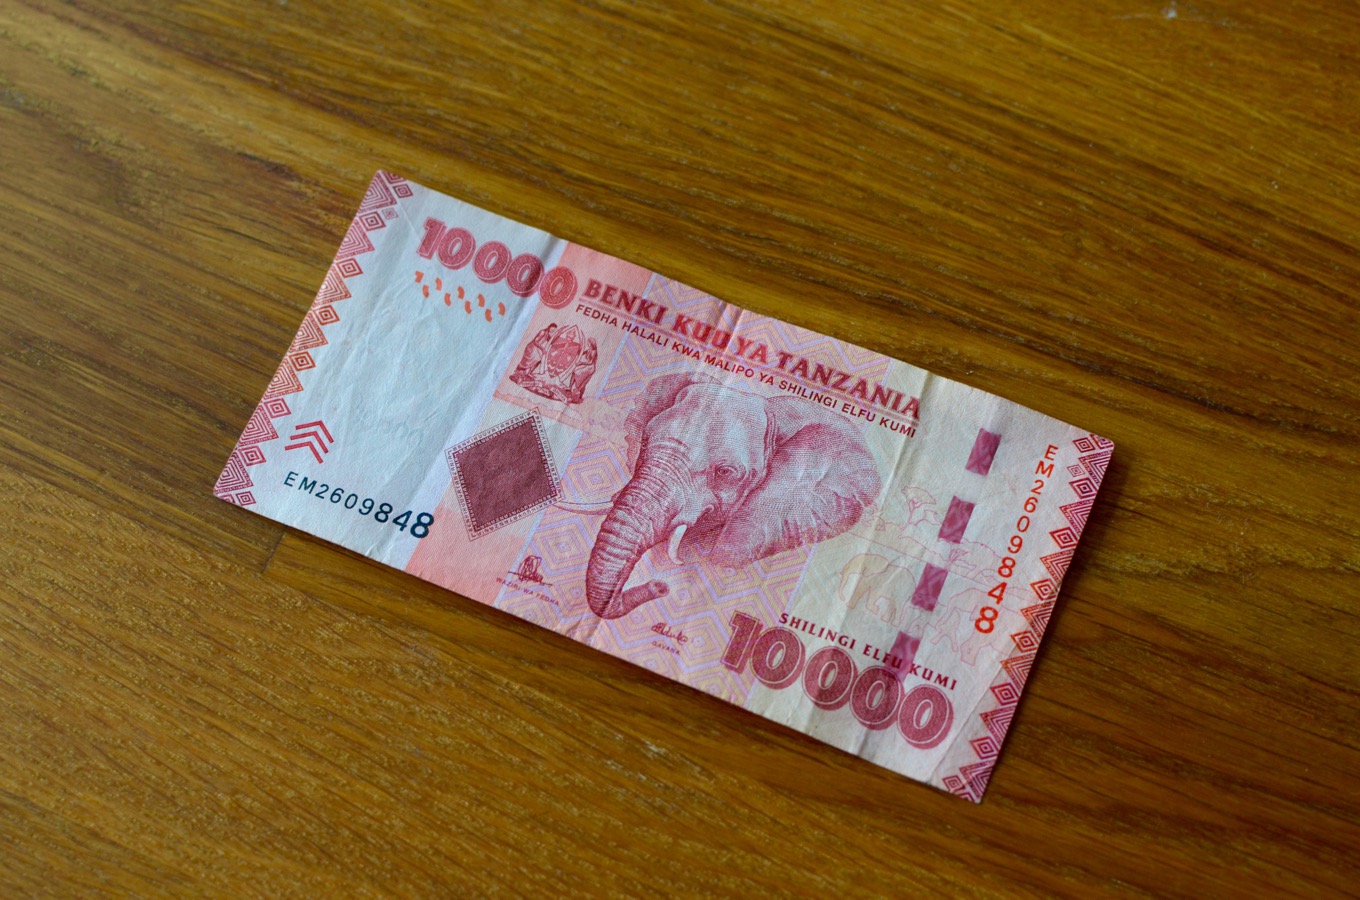
What came next was probably the longest session of my life at an automatic teller machine.
It resulted from several factors:
- The exchange rate USD to TZS (Tanzania Shillings) beginning of March 2017 was at around 1 : 2,200;
- The maximum amount, which can be withdrawn each time you insert your card, is only as high as 400,000 TZS (which is not even 200 USD);
- We needed considerably more than 1,000 USD per person!
At this point, I will leave the exact calculation to everyone him- or herself. I only want to tell you that much – I was extremely happy once we finally arrived at a nearby restaurant for lunch.
Chicken and rice – yummy!
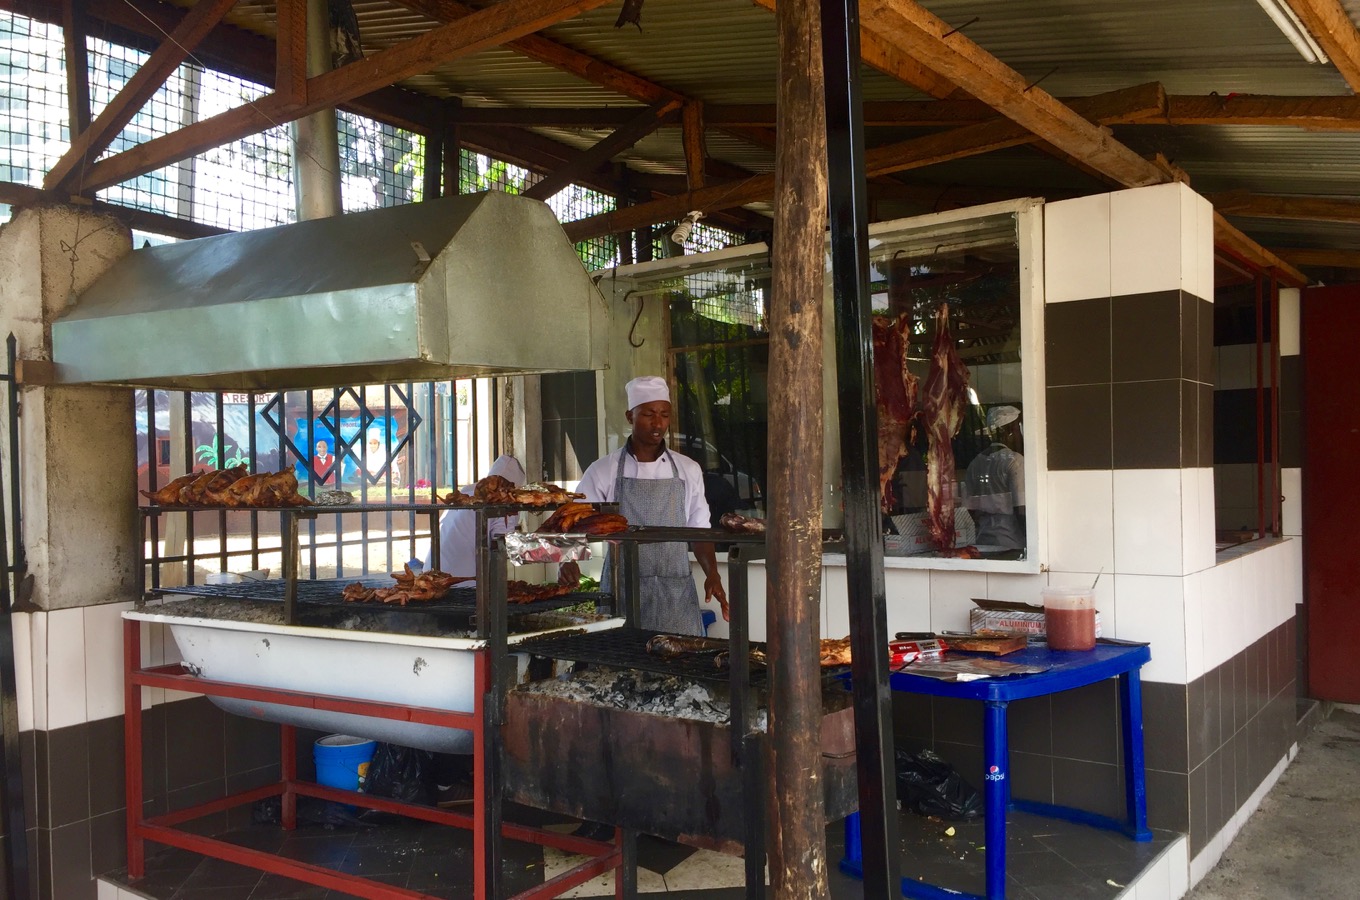
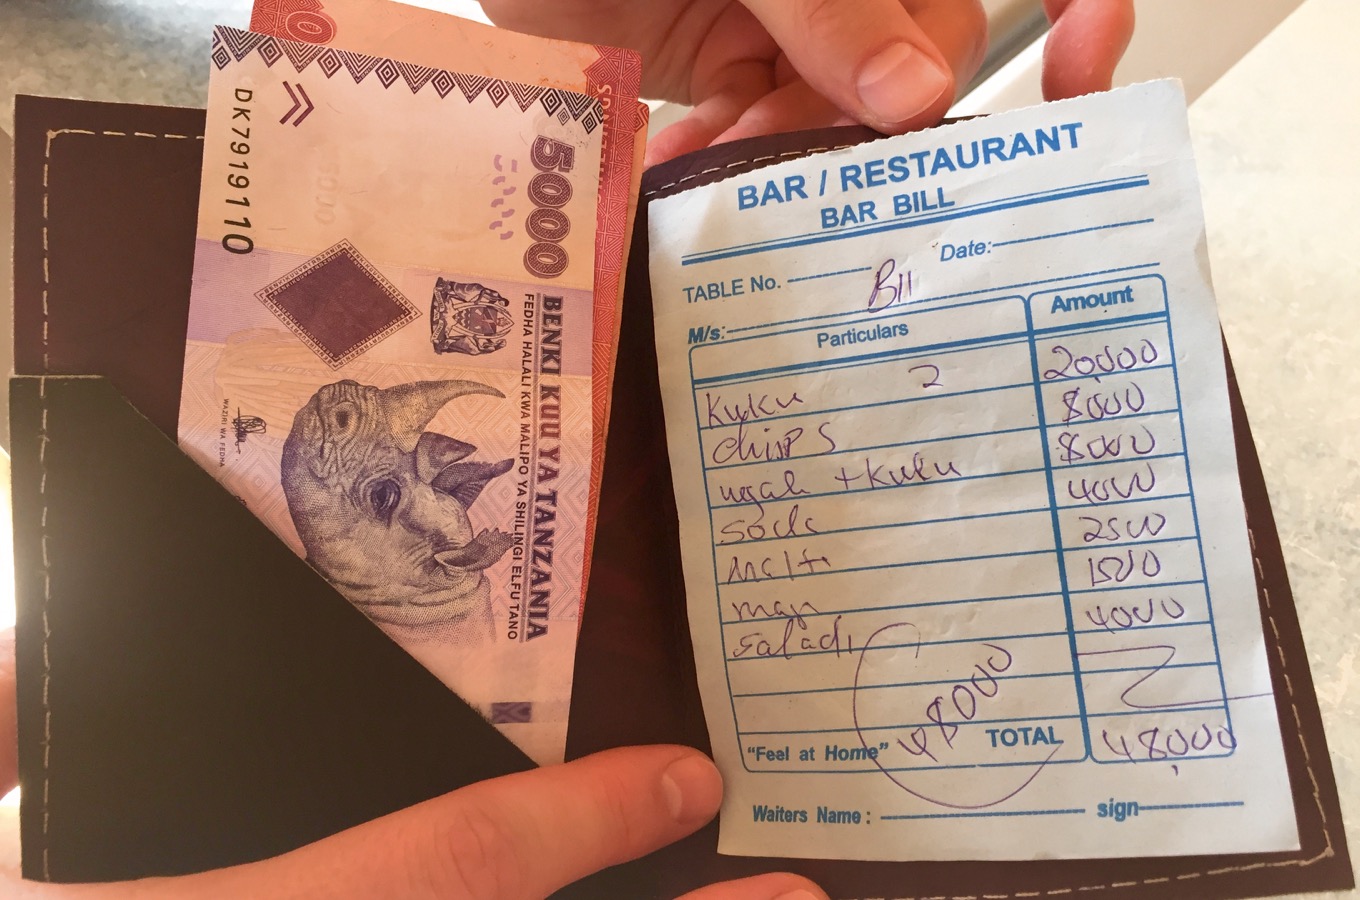
Just like in Thailand, in Tanzania people simply know how to prepare grilled chicken. These are then served together with rice or potatoes, different dips or gravy, veggies and other side dishes. Super delicious! Timo and I told Erasto we wanted to eat authentic food in a little touristy place. The restaurant “Uzunguni City Park”, where we lunched together with Erasto, our co-guide Amos and our driver Chris, was well attended. Consequently, Timo and I were the only tourists far and wide. The price level of Tanzania is well below the Western European, but varies noticeably, depending on where you order something. Here you find a comparison of the US’s and Tanzania’s GDP for a better understanding. We ended up paying about 4 USD for half a chicken including side dishes and a soft drink.
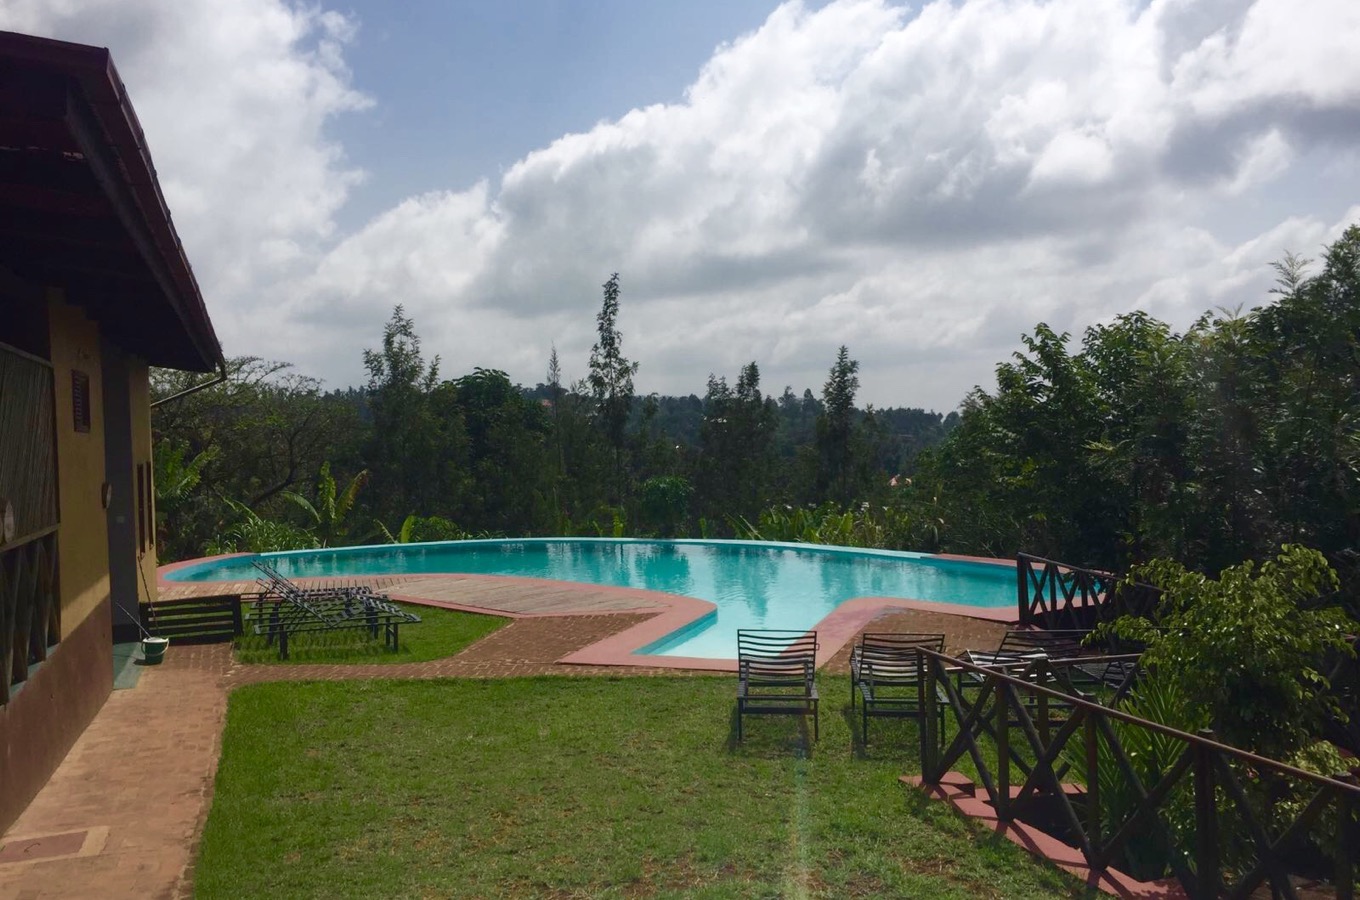
We went back by car to the lodge, where we had the rest of the afternoon to relax, swim and pack.
Once more we raised the question:
What do we really need up at Mount Kilimanjaro, and what can stay in the lodge?
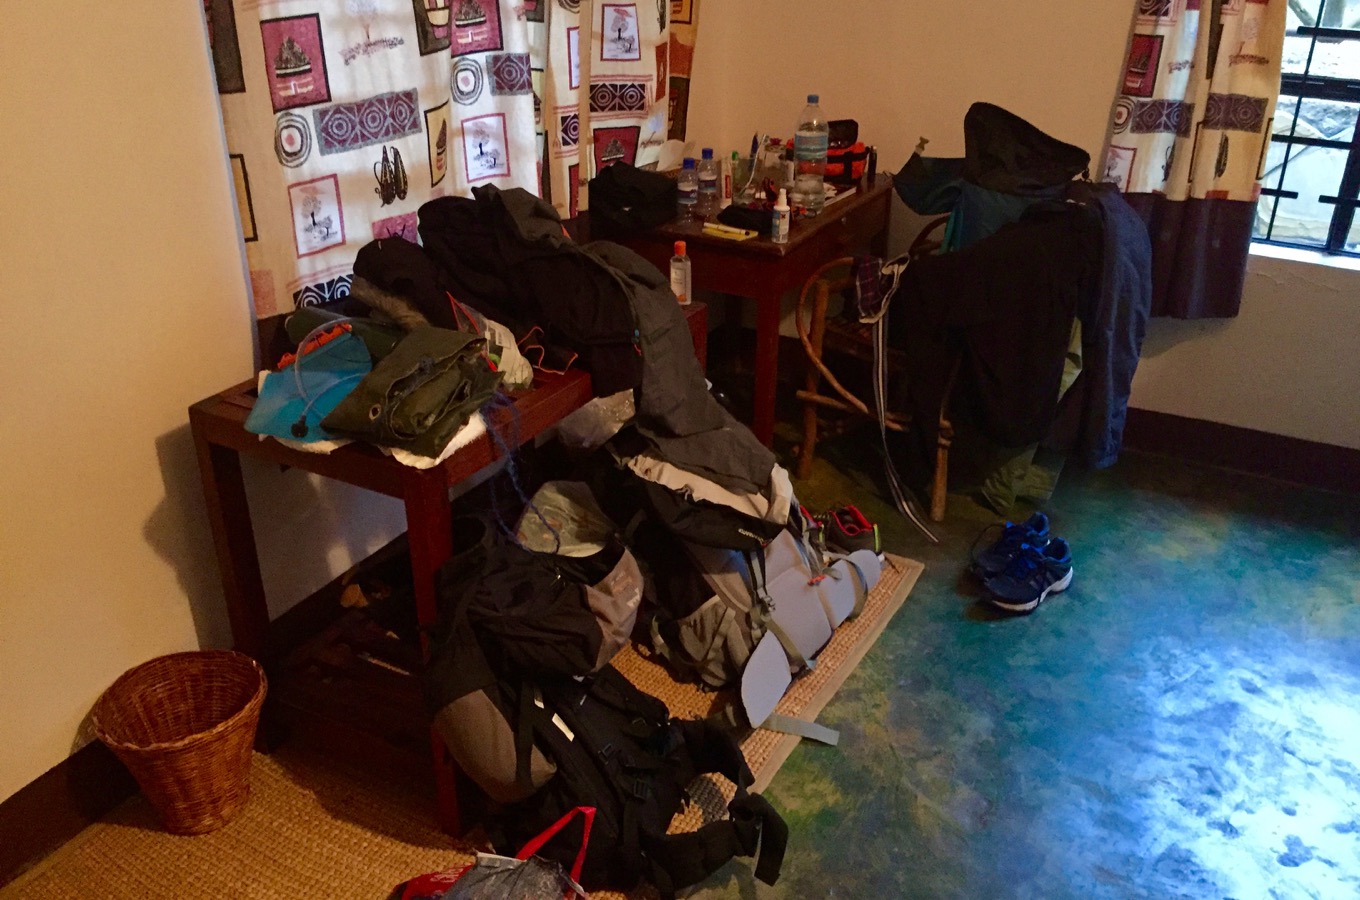
„Everything“, would be a reasonable assumption, that’s what we brought it for. However, you will only take one part of your luggage up the mountain, the other part stays in your hotel. Here’s what happens with regards to your equipment: You leave your home country with one large travel backpack (ca. 60-80 liters in volume) and one smaller daypack (ca. 30-40 liters in volume). Instead of the larger travel backpack, however, you can also take any type of travel bag or suitcase. For your hike, you will only take the smaller daypack with you. The larger travel backpack (respectively suitcase) remains in your hotel because of its weight and bulkiness.
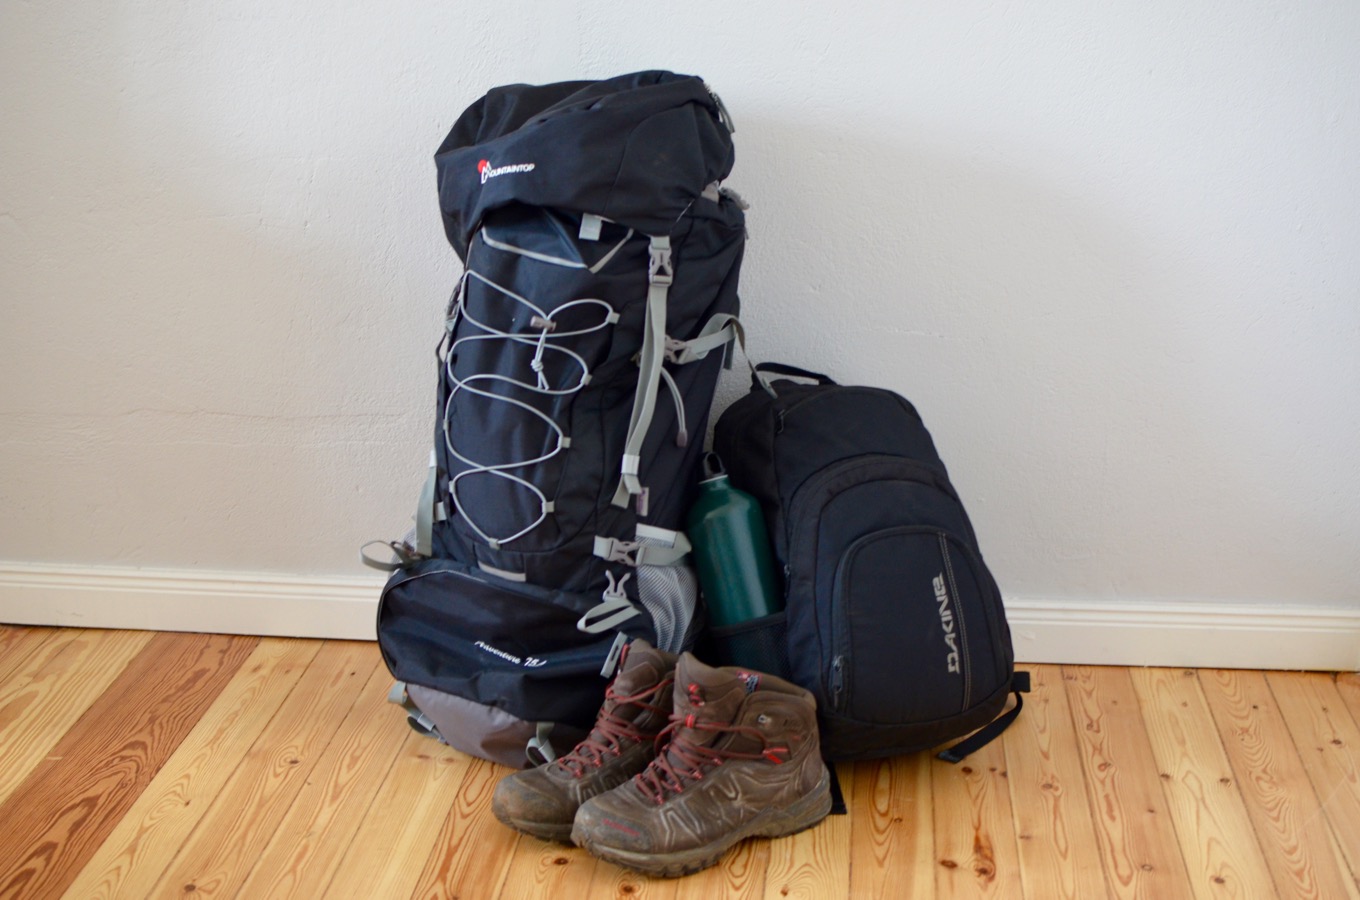
The night before your hike begins you repack the things you brought in your travel backpack into other bags given to you (usually you take less than you brought in total, as worn clothes or perfumes are of no use up the mountain). During your hike from camp to camp you do not need to worry about these bags. They are carried by your porters. Your daypack, however, you usually carry yourself. Before and during the tour, Erasto gave us valuable tips on how to best prepare our luggage. We have summarized these tips in our checklist. There you also see what Timo and I finally took with us.
If you prefer not to buy all your equipment yourself, you can also rent items such as hiking poles, sleeping bags and mattresses. We felt that options for rental were limited, though. In any case you should consult with your travel agent before your hike. Thus, you get an idea for the availability of and extra charge for the equipment you need for climbing Mount Kilimanjaro.
Dinner, and off to bed!
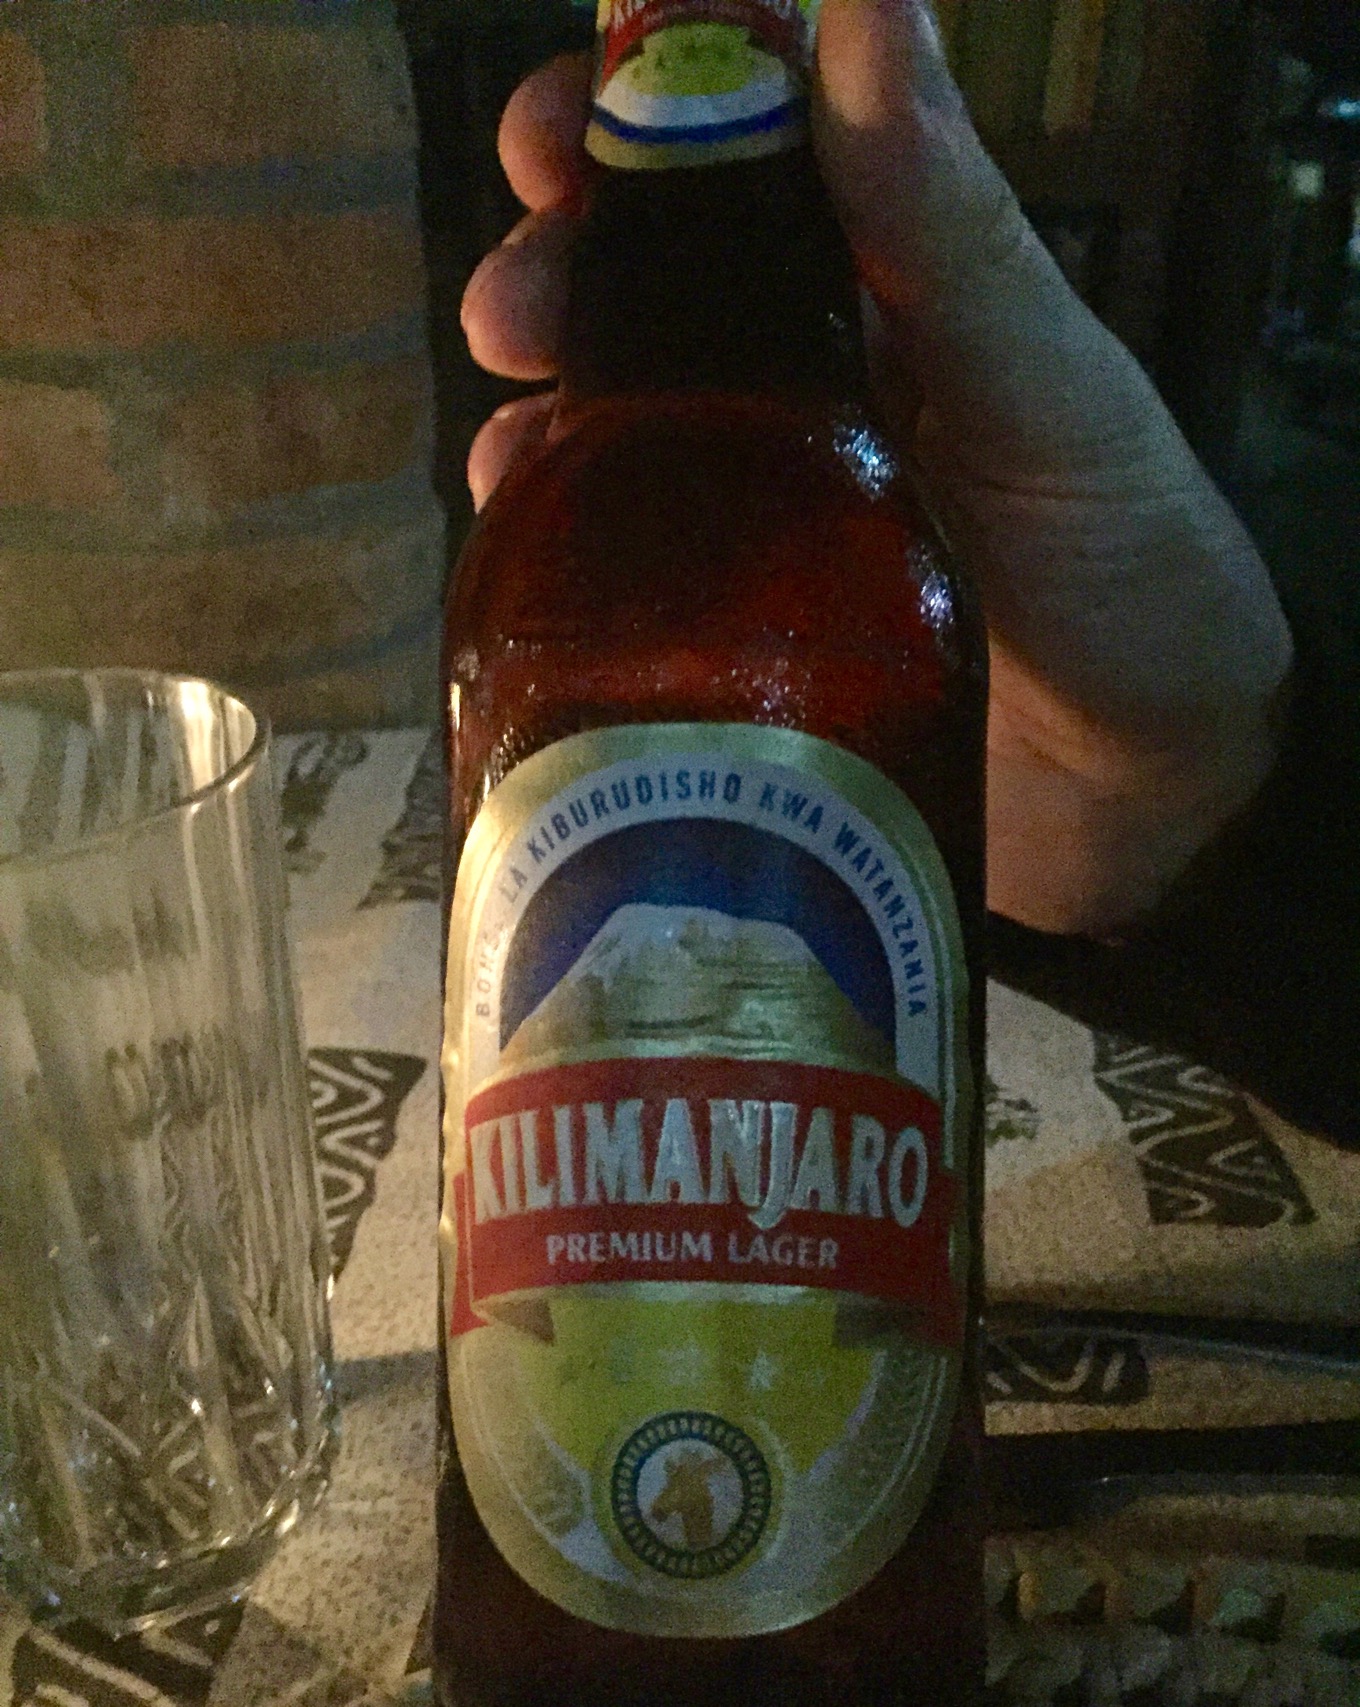
Timo and I had dinner in Ambureni Coffee Lodge. We went to bed only shortly after, as the following day was the first day of our hike and supposed to start reasonably early. Finally, one important remark: try to abstain from alcohol the last days before and especially during your hike as alcohol hinders your body to adjust to the height properly. For us, this worked out more or less well, and we couldn’t help it but to share one local beer! We come from Germany and thus ask you for forbearance…
Our trip: Day 1 → Day 2 → Day 3 → Day 4-7 → Day 8 → Day 9-10
